Virtualbox PAS4000 Connection#
The PILZ development software known as PAS4000 must run on a windows machine. Since I greatly dislike windows, I used a CentOS7 host machine running a windows 10 virtualmachine to run PAS4000. What you will learn on this document is how to get connectivity from the PAS4000 running on a virtualmachine to your PILZ hardware.
Prerequisite#
Have a windows 10 virtualmachine. I created mine using vagrant. Vagrant has a free base box of windows 10 which I found easier to get going than microsofts free VM’s.
have the PAS4000 software handy, you can search for it here https://www.pilz.com/en-INT/search#SEARCH=&pilz_group_type= be sure to download the correct version, this detail matters.
Configure vm network#
1. Identify which ethernet port on the host machine you will be using. My method of doing this is by doing ifconfig before plugging in the PILZ hardware into the host machine ethernet port.
(base) aheyer ~/ts_dir/ts_tma 10:45:58 ifconfig
docker0: flags=4099<UP,BROADCAST,MULTICAST>  mtu 1500
        inet 172.17.0.1  netmask 255.255.0.0  broadcast 172.17.255.255
        ether 02:42:b0:eb:9e:9a  txqueuelen 0  (Ethernet)
        RX packets 0  bytes 0 (0.0 B)
        RX errors 0  dropped 0  overruns 0  frame 0
        TX packets 0  bytes 0 (0.0 B)
        TX errors 0  dropped 0 overruns 0  carrier 0  collisions 0
em1: flags=4099<UP,BROADCAST,MULTICAST>  mtu 1500
        ether 98:e7:43:a5:3e:d6  txqueuelen 1000  (Ethernet)
        RX packets 0  bytes 0 (0.0 B)
        RX errors 0  dropped 0  overruns 0  frame 0
        TX packets 0  bytes 0 (0.0 B)
        TX errors 0  dropped 0 overruns 0  carrier 0  collisions 0
        device interrupt 16  memory 0xed600000-ed620000
enp58s0u1u4: flags=4163<UP,BROADCAST,RUNNING,MULTICAST>  mtu 1500
        inet 192.168.1.118  netmask 255.255.255.0  broadcast 192.168.1.255
        inet6 fe80::bb51:7955:69c:6134  prefixlen 64  scopeid 0x20<link>
        ether 48:65:ee:10:b1:05  txqueuelen 1000  (Ethernet)
        RX packets 297004  bytes 401676617 (383.0 MiB)
        RX errors 0  dropped 0  overruns 0  frame 0
        TX packets 113922  bytes 14119031 (13.4 MiB)
        TX errors 0  dropped 0 overruns 0  carrier 0  collisions 0
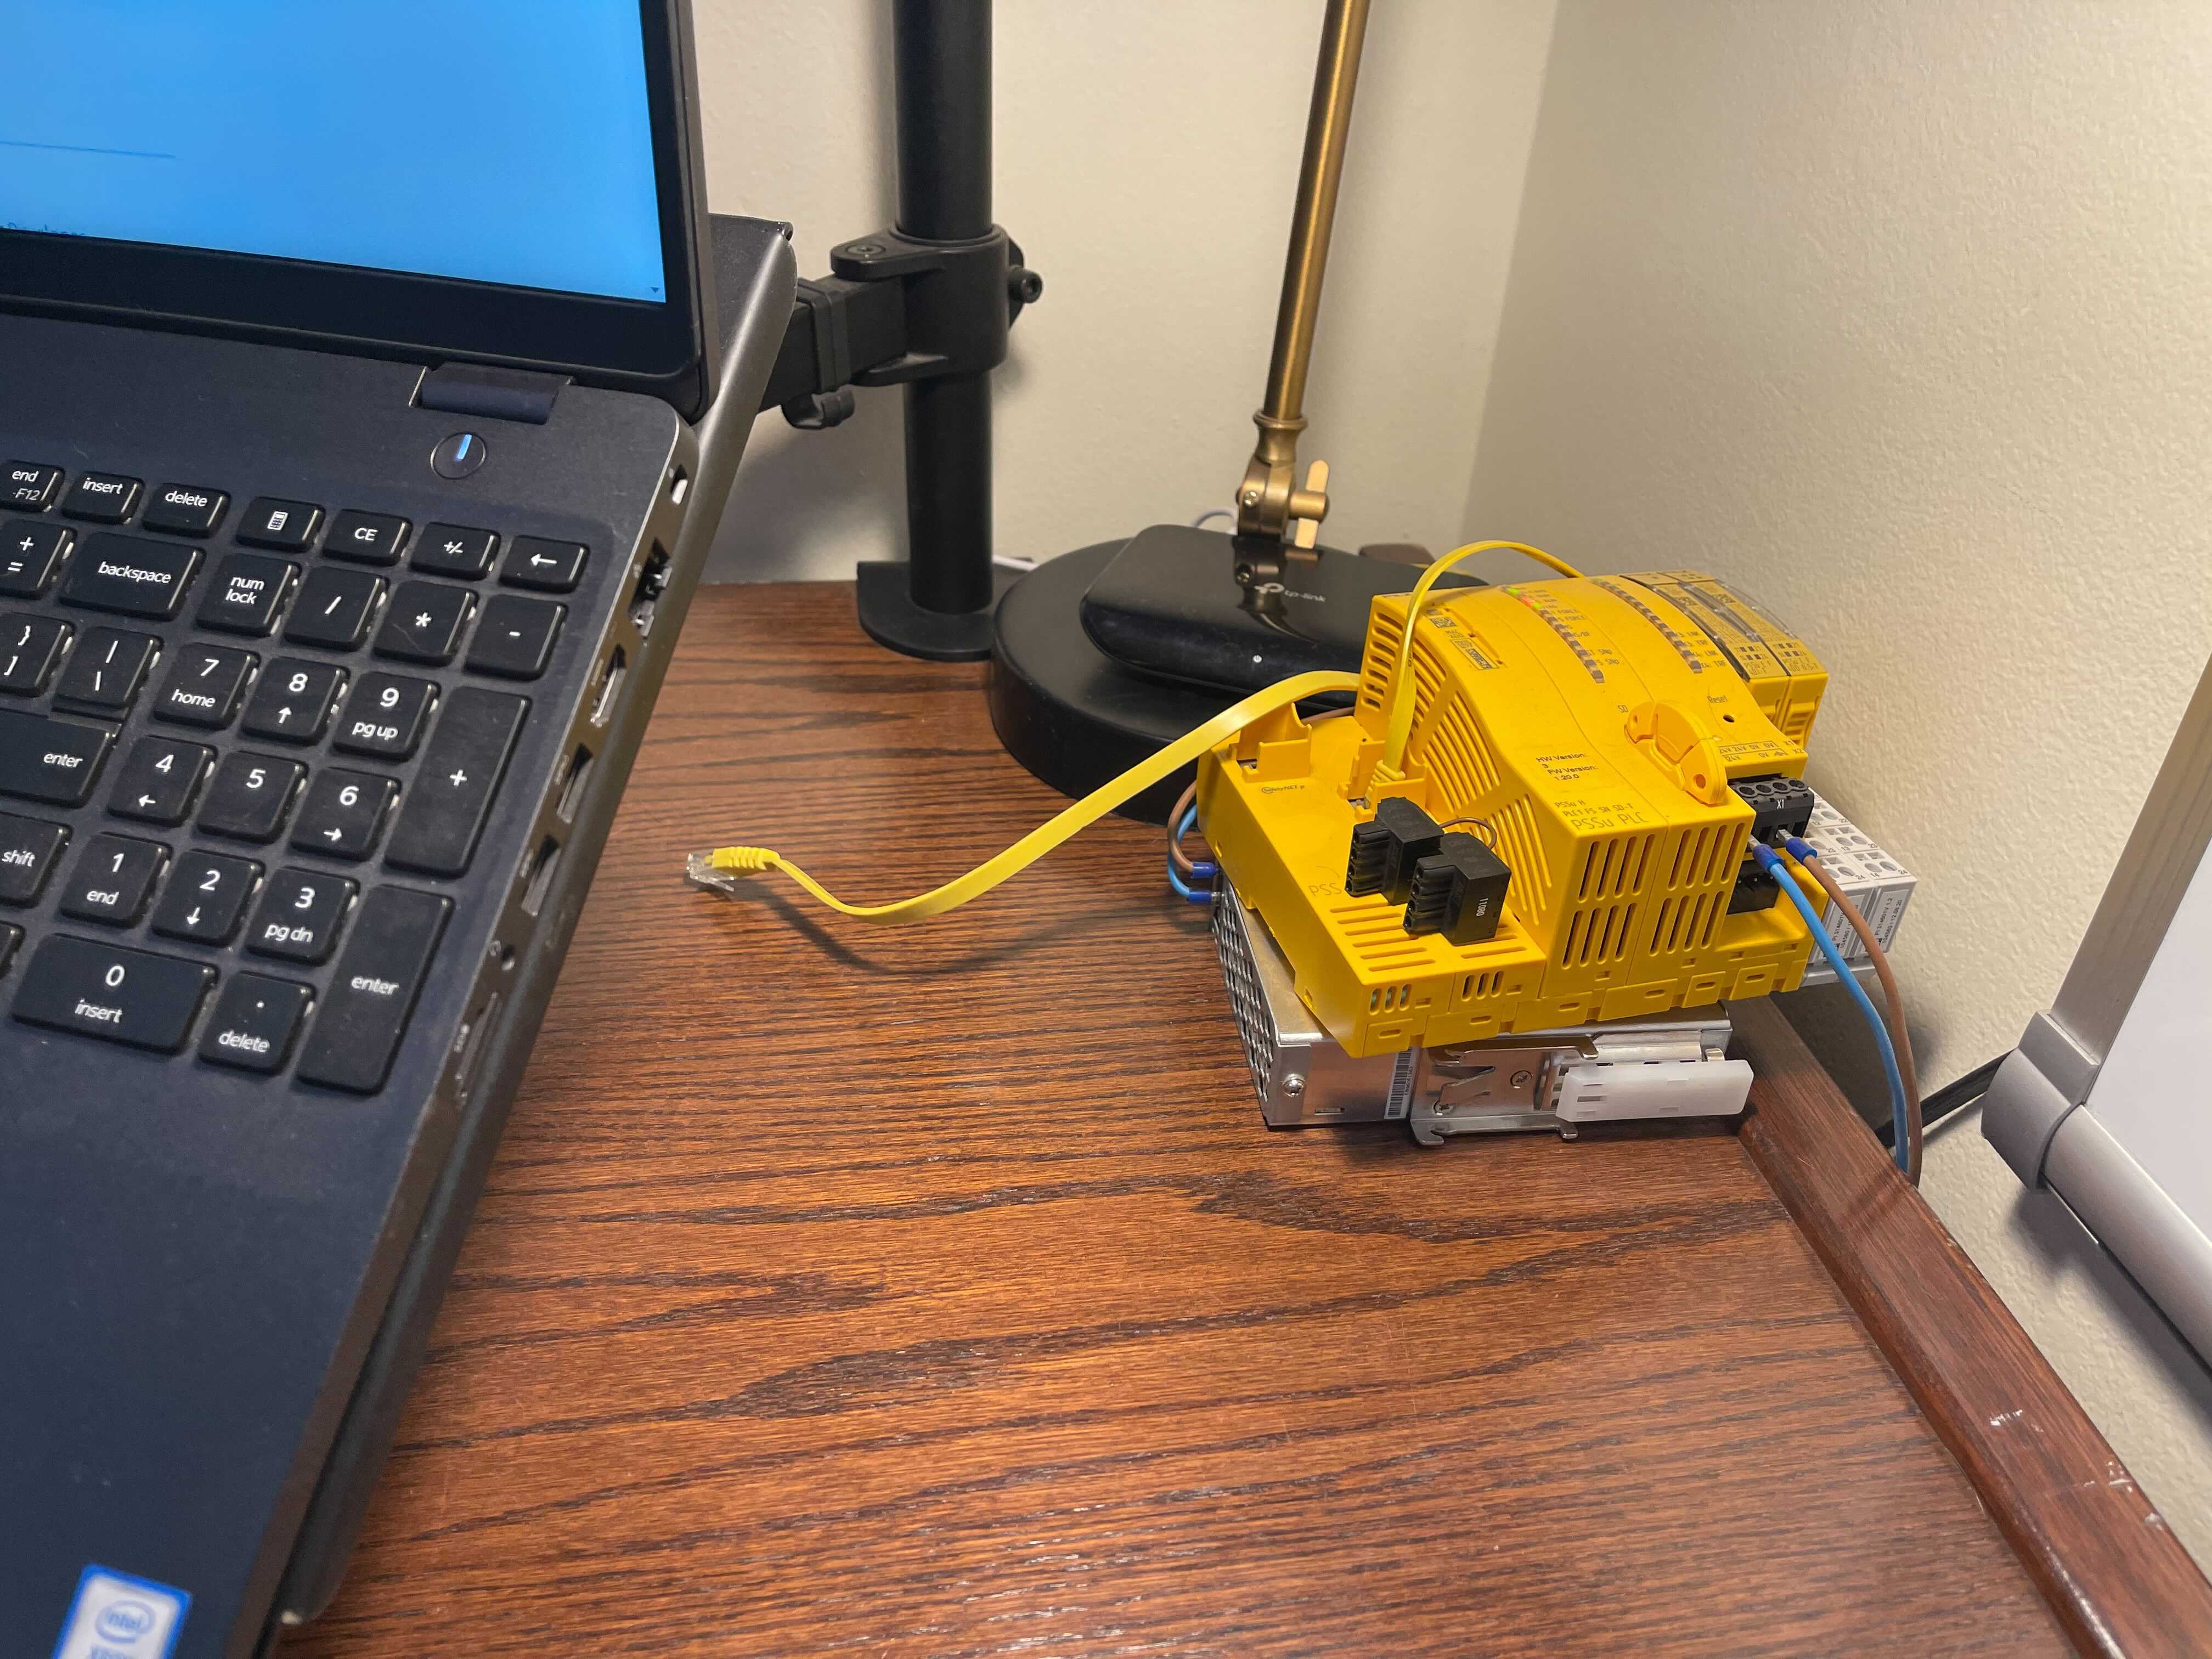
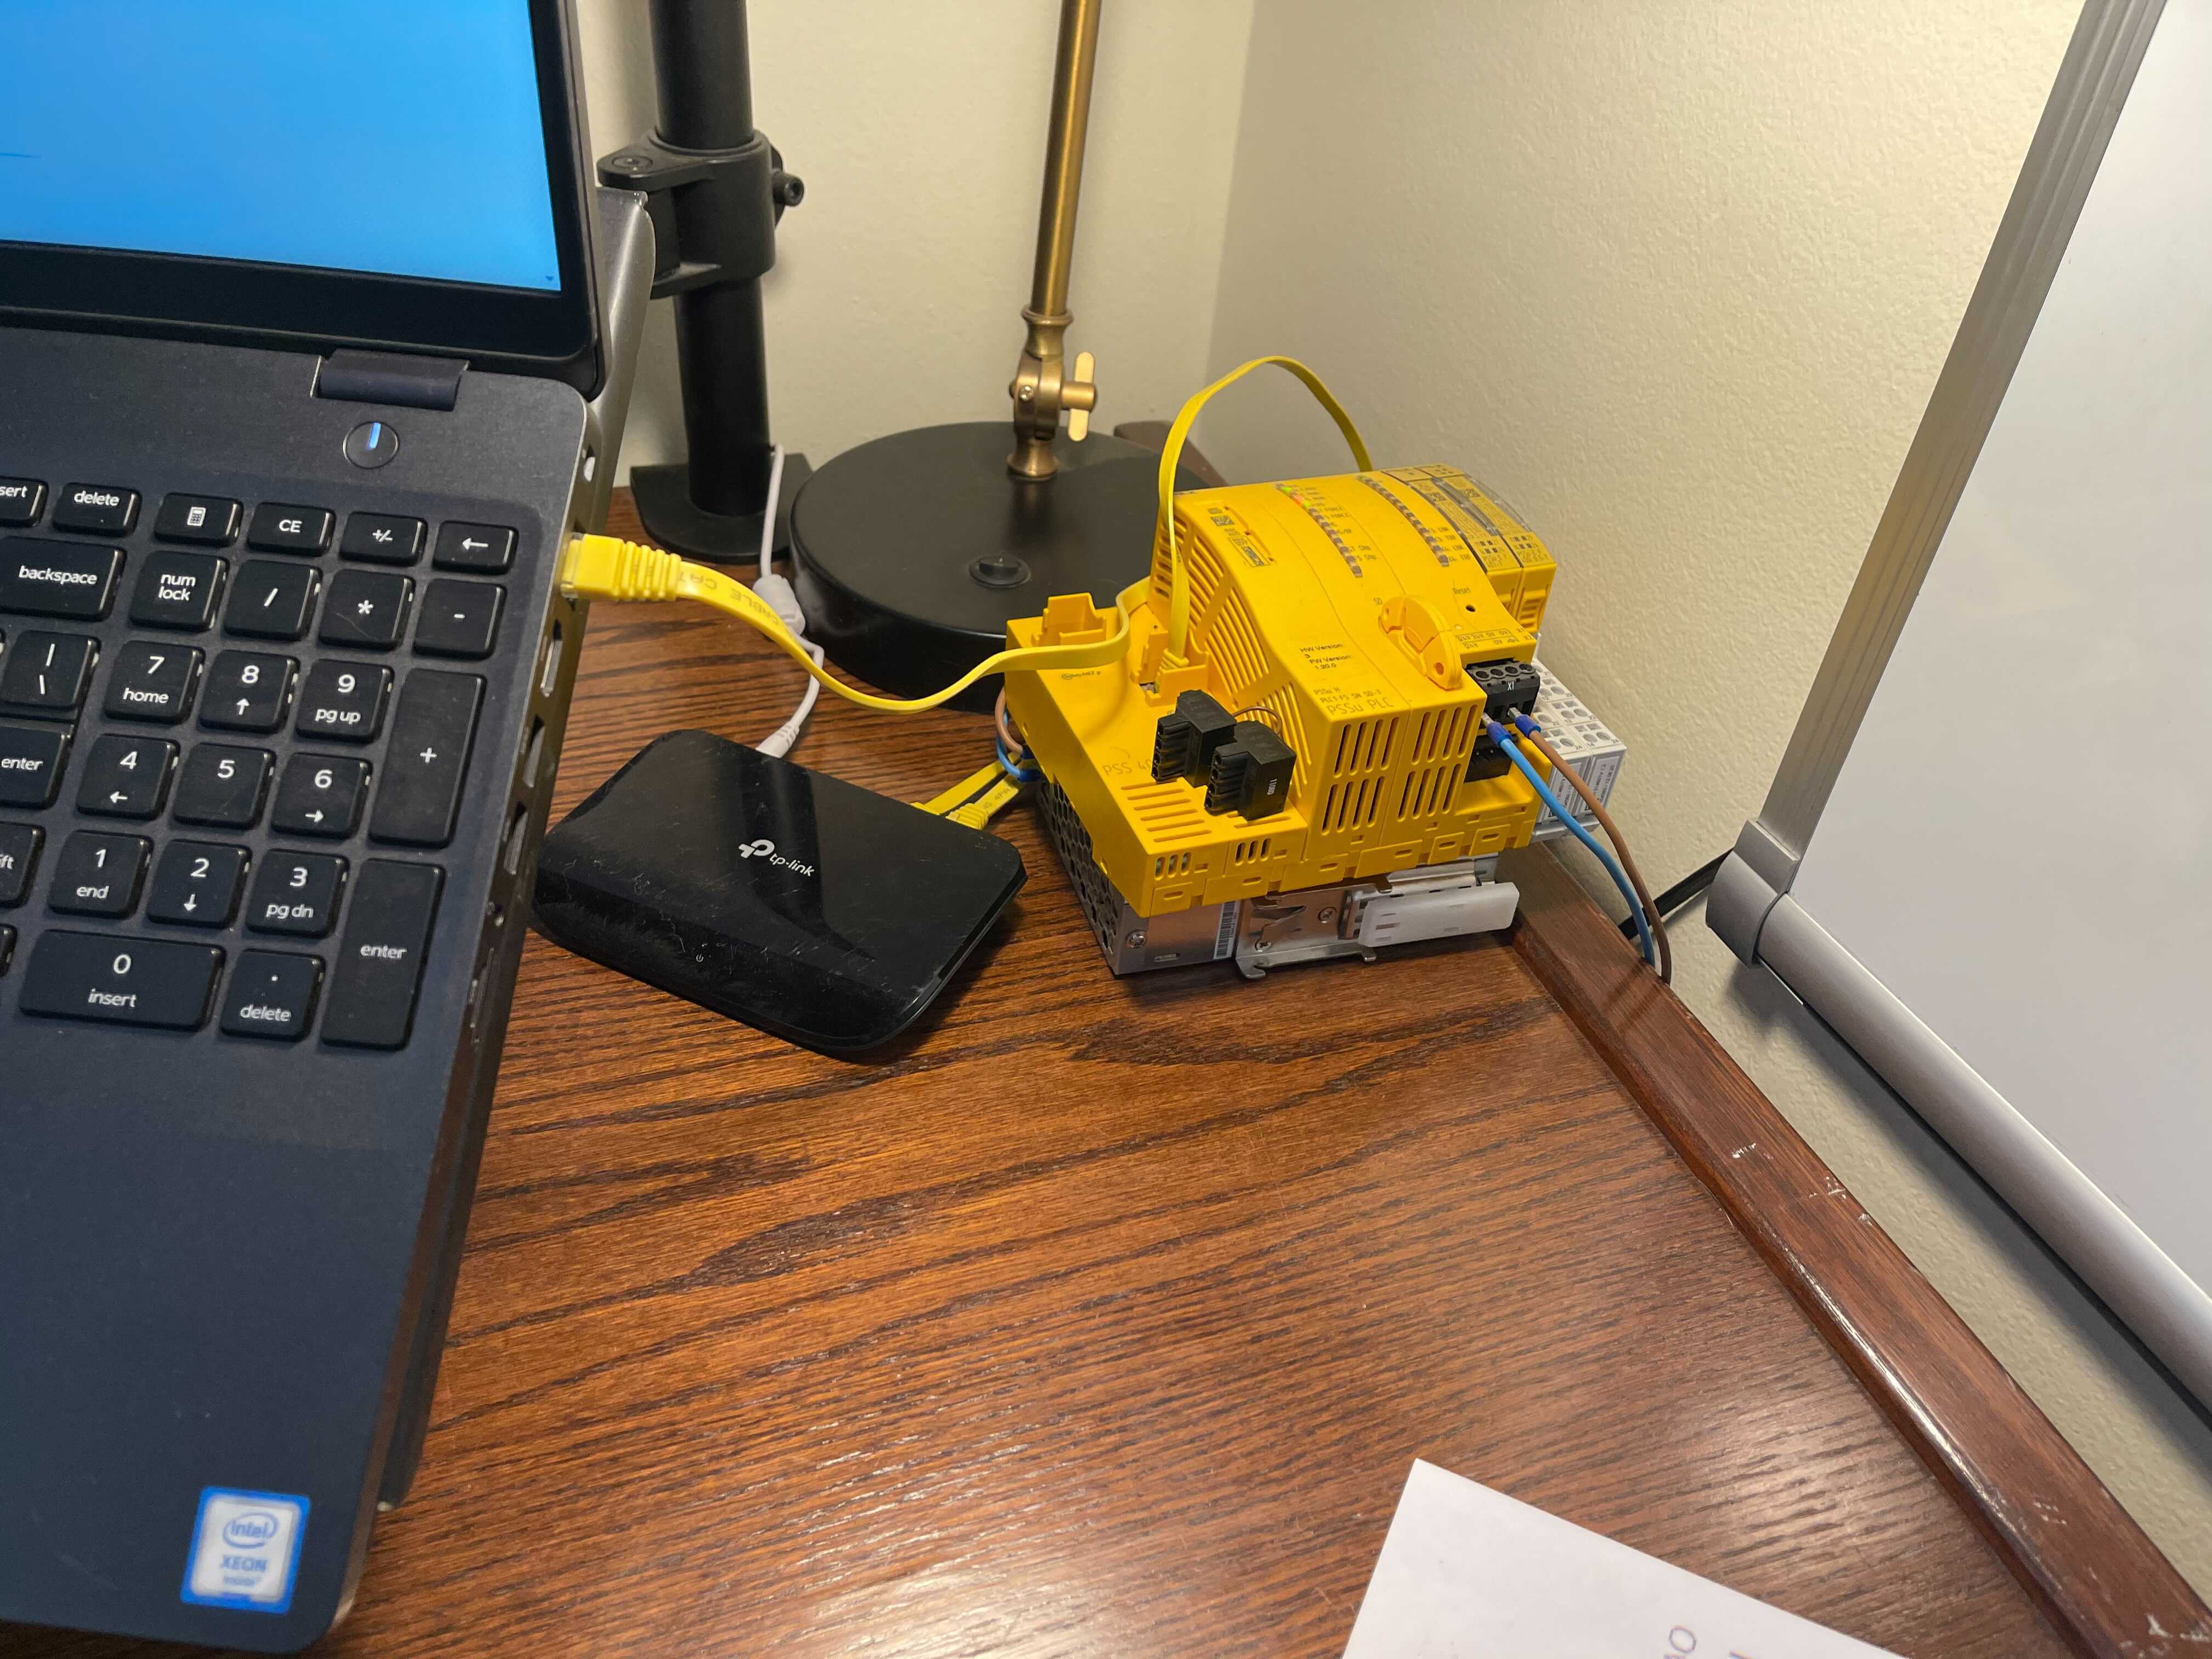
2. Then plug in the PILZ hardware into the ethernet port. Not that in the images shown, the PILZ and the Laptop are simply connect to a switch.
docker0: flags=4099<UP,BROADCAST,MULTICAST>  mtu 1500
        inet 172.17.0.1  netmask 255.255.0.0  broadcast 172.17.255.255
        ether 02:42:b0:eb:9e:9a  txqueuelen 0  (Ethernet)
        RX packets 0  bytes 0 (0.0 B)
        RX errors 0  dropped 0  overruns 0  frame 0
        TX packets 0  bytes 0 (0.0 B)
        TX errors 0  dropped 0 overruns 0  carrier 0  collisions 0
em1: flags=4163<UP,BROADCAST,RUNNING,MULTICAST>  mtu 1500
        ether 98:e7:43:a5:3e:d6  txqueuelen 1000  (Ethernet)
        RX packets 0  bytes 0 (0.0 B)
        RX errors 0  dropped 0  overruns 0  frame 0
        TX packets 0  bytes 0 (0.0 B)
        TX errors 0  dropped 0 overruns 0  carrier 0  collisions 0
        device interrupt 16  memory 0xed600000-ed620000
enp58s0u1u4: flags=4163<UP,BROADCAST,RUNNING,MULTICAST>  mtu 1500
        inet 192.168.1.118  netmask 255.255.255.0  broadcast 192.168.1.255
        inet6 fe80::bb51:7955:69c:6134  prefixlen 64  scopeid 0x20<link>
        ether 48:65:ee:10:b1:05  txqueuelen 1000  (Ethernet)
        RX packets 297689  bytes 401870298 (383.2 MiB)
        RX errors 0  dropped 0  overruns 0  frame 0
        TX packets 114559  bytes 14223411 (13.5 MiB)
        TX errors 0  dropped 0 overruns 0  carrier 0  collisions 0
Notice that one of these entries now has “RUNNING” this is the physical ethernet port that is connected to the PILZ hardware.
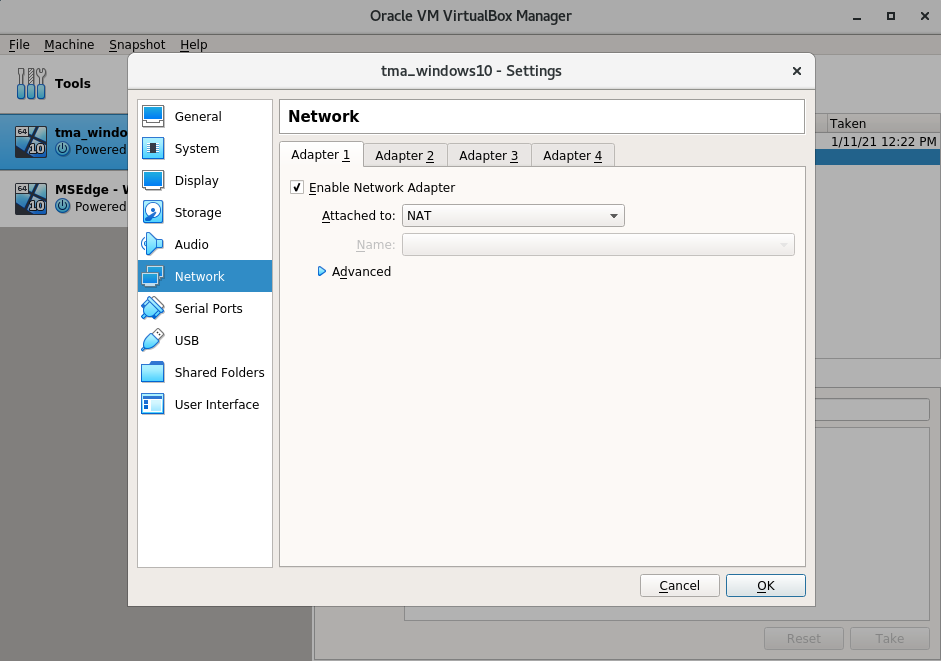
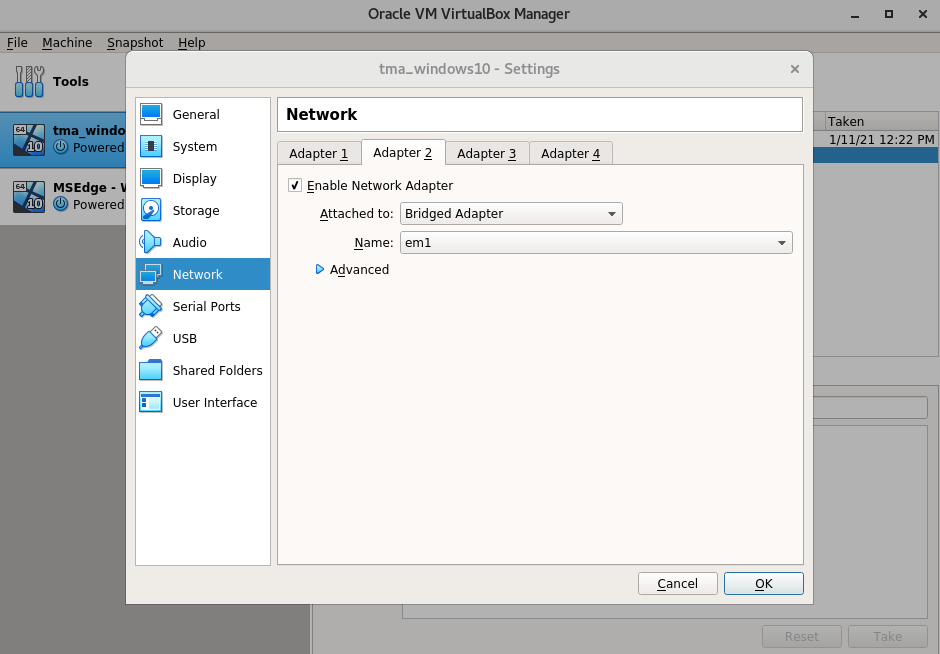
3. Knowing what physical ethernet port is connected to the PIlz hardware we can set the proper configurations to this card. Open virtualbox and import the windows 10 VM. If you are following these steps from a clean VM then apply these settings. If you are importing the windows 10 TMA virtualbox VM managed by Andrew Heyer then double check anyways to be sure these network settings have been imported properly.
4. The VM should now be able to connect to hardware who is also connected to the adapter we just set. Now we need to open the windows VM and manually set an IP. Take note of the ethernet port we identified and manually set the IP address for it to 192.168.1.40
5. With the physical ethernet port set to the proper IP, the PAS4000 software should now be able to find it. Open the PAS4000 software, either by installing onto a clean windows 10 vm or if you are by importing the VM managed by Andrew Heyer it should already be installed.
6. Select a PAS4000 project or open a new one. For this exercise it doesn’t matter since the scope of this documentation is to show how to succesffuly connect the PAS4000 VM running on a virtualmachine to PILZ hardware. If you do want to learn how to learn more about developing a PAS4000 project then click the help menu item and there is a tutorial that teaches you how to do so.
7. Right click on the project, and activate. Enter whatever credentials you need to do this. Select Tools -> Online network editor. Select the ethernet port which is connected to the switch. Its probably ethernet 2.

8. Click ok, and select “scan project”. Voila! The PAS4000 software should now have communication to the PILZ hardware and you are all set for development.